Connect to your Destination Site
Connecting to your Site
We only require you to connect when you are creating a site in Transferito Desktop and your Site Type is “Destination Site” and the Environment is “LIVE”. Once you have entered the site’s Nickname and your Destination URL. You will see the connect to server block, as seen below.
Click on the Download File button to start the connection process.
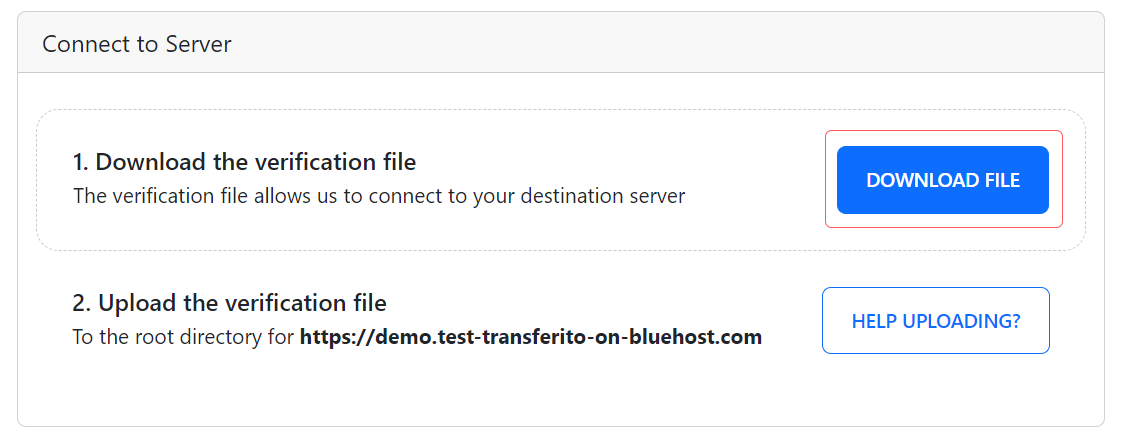
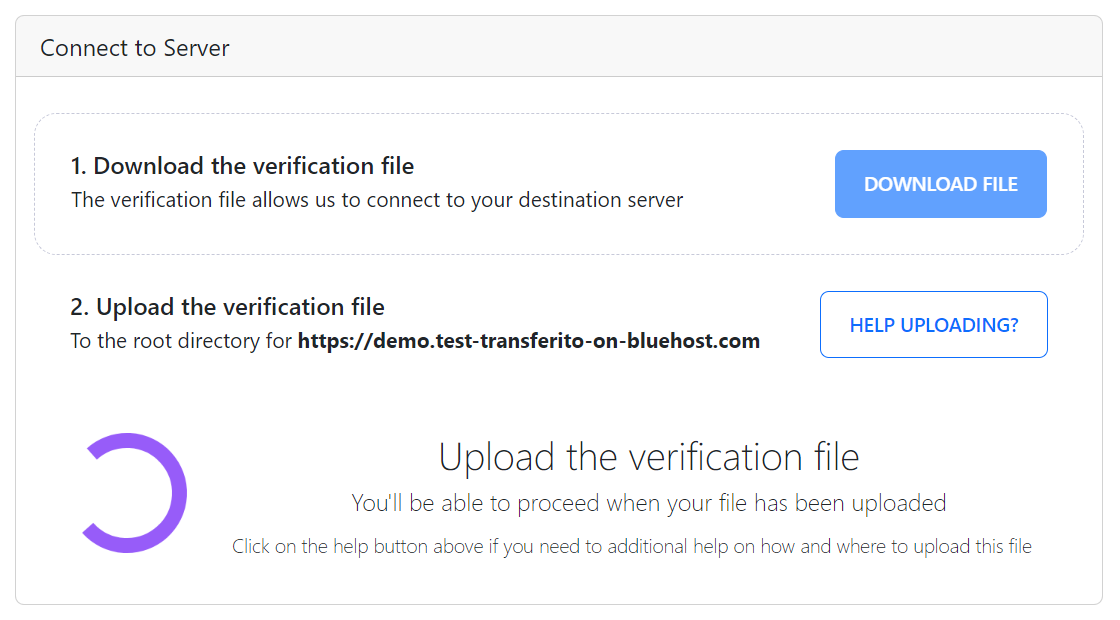
Once you’ve clicked on the button, the verification file will be downloads to your downloads folder and a loading spinner will appear that will be checking in real-time for when your file has been uploaded to your server.
Locate the verification file
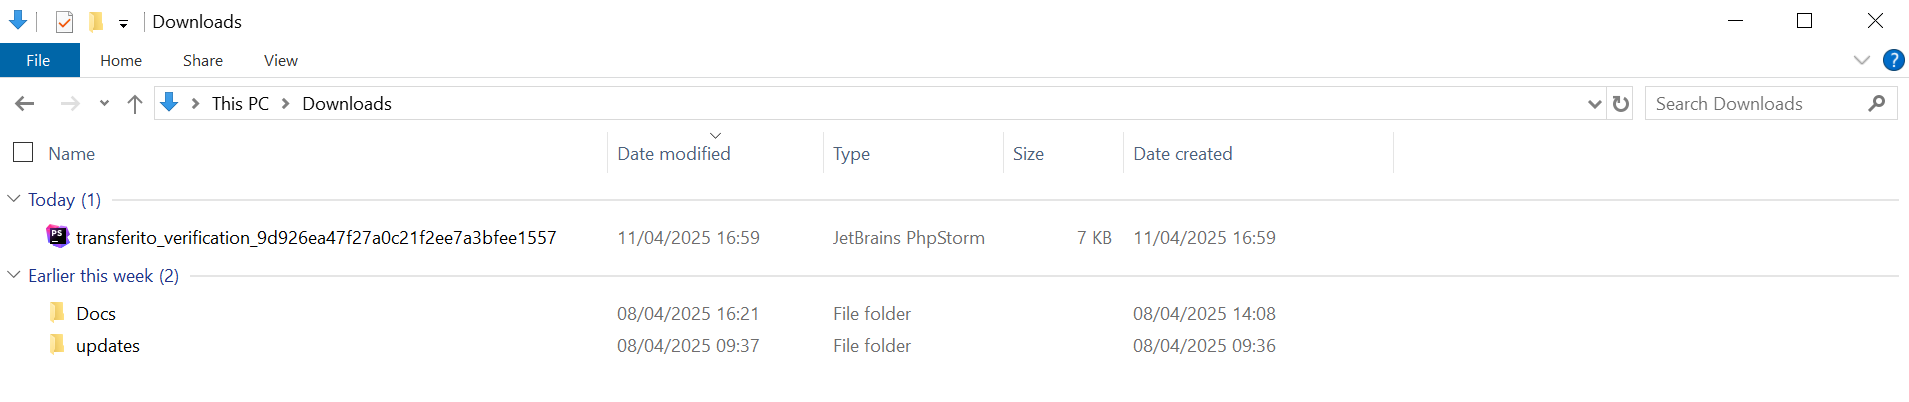
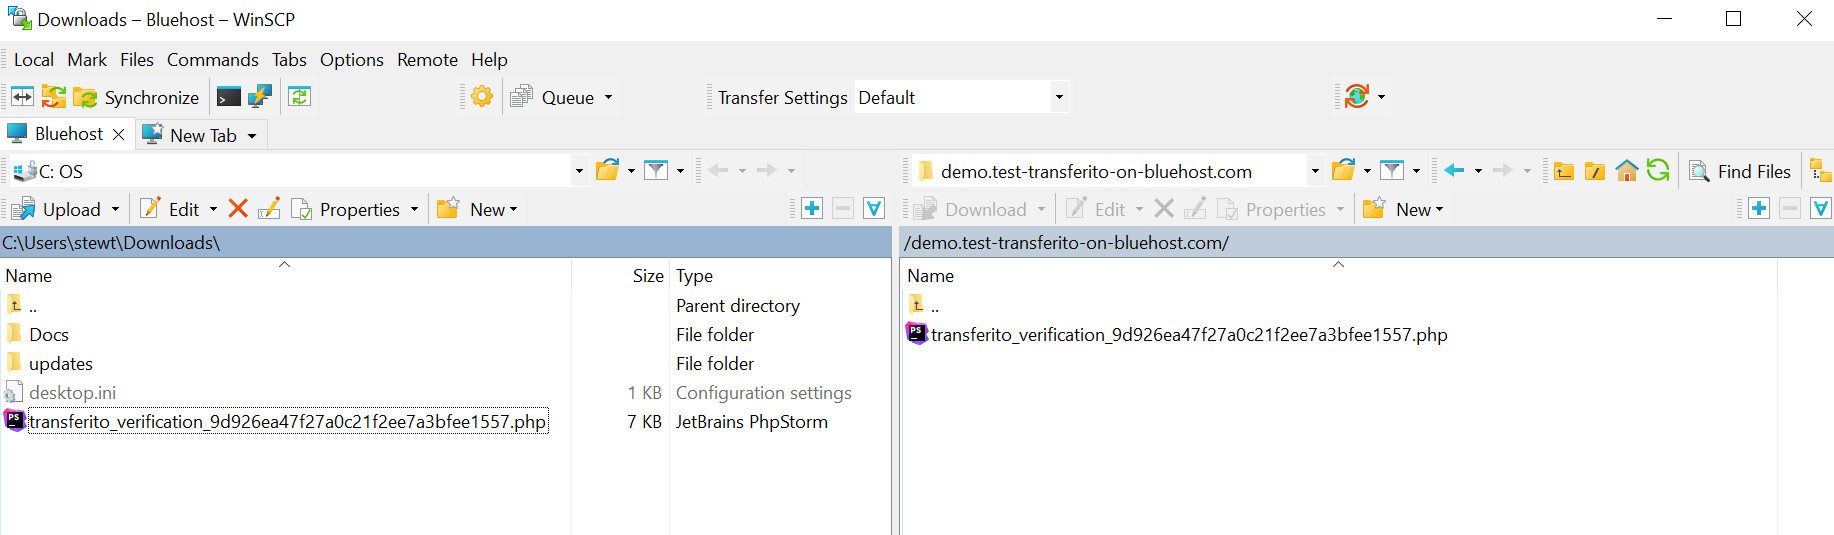
The verification file should look something like this, “transferito_verification_” with a uniquely generated hash as part of the filename. Which will be downloaded automatically to your downloads folder.
Upload your verification file
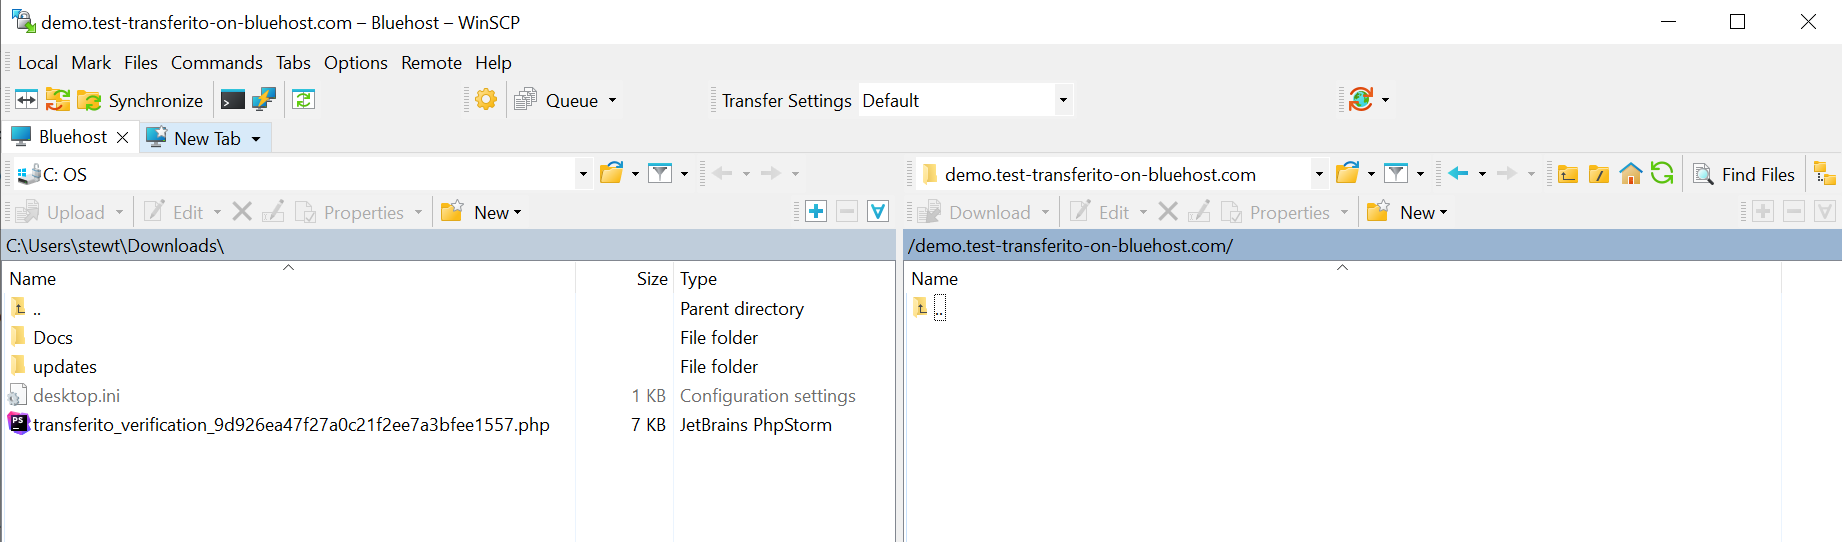
Once you’ve found your verification file, the next step is to upload it you your server. In this example, I’m using an FTP client, navigated to the root directory for https://demo.test-transferito-on-bluehost.com this is where we want our WordPress site to be migrated to.
Move your verification file
Copy / upload the file to your root directory as explained above
Connection Complete
Once the file has been uploaded we instantly connect to your site and you can proceed with the creation of your site.

DO NOT delete this file while you are creating your site or if your migration is in process, this will cause your migration to fail.