Start Migration – Local Migrations
To start your local migration,
Log into the WordPress dashboard of your active site and click on the Start Migration link
Enter your details:
- Enter the URL for the destination site
- Click on the local migrations check box
- Then click the continue button.

Your backup process will start, once your site is ready to be migrated a notification appear in the plugin:
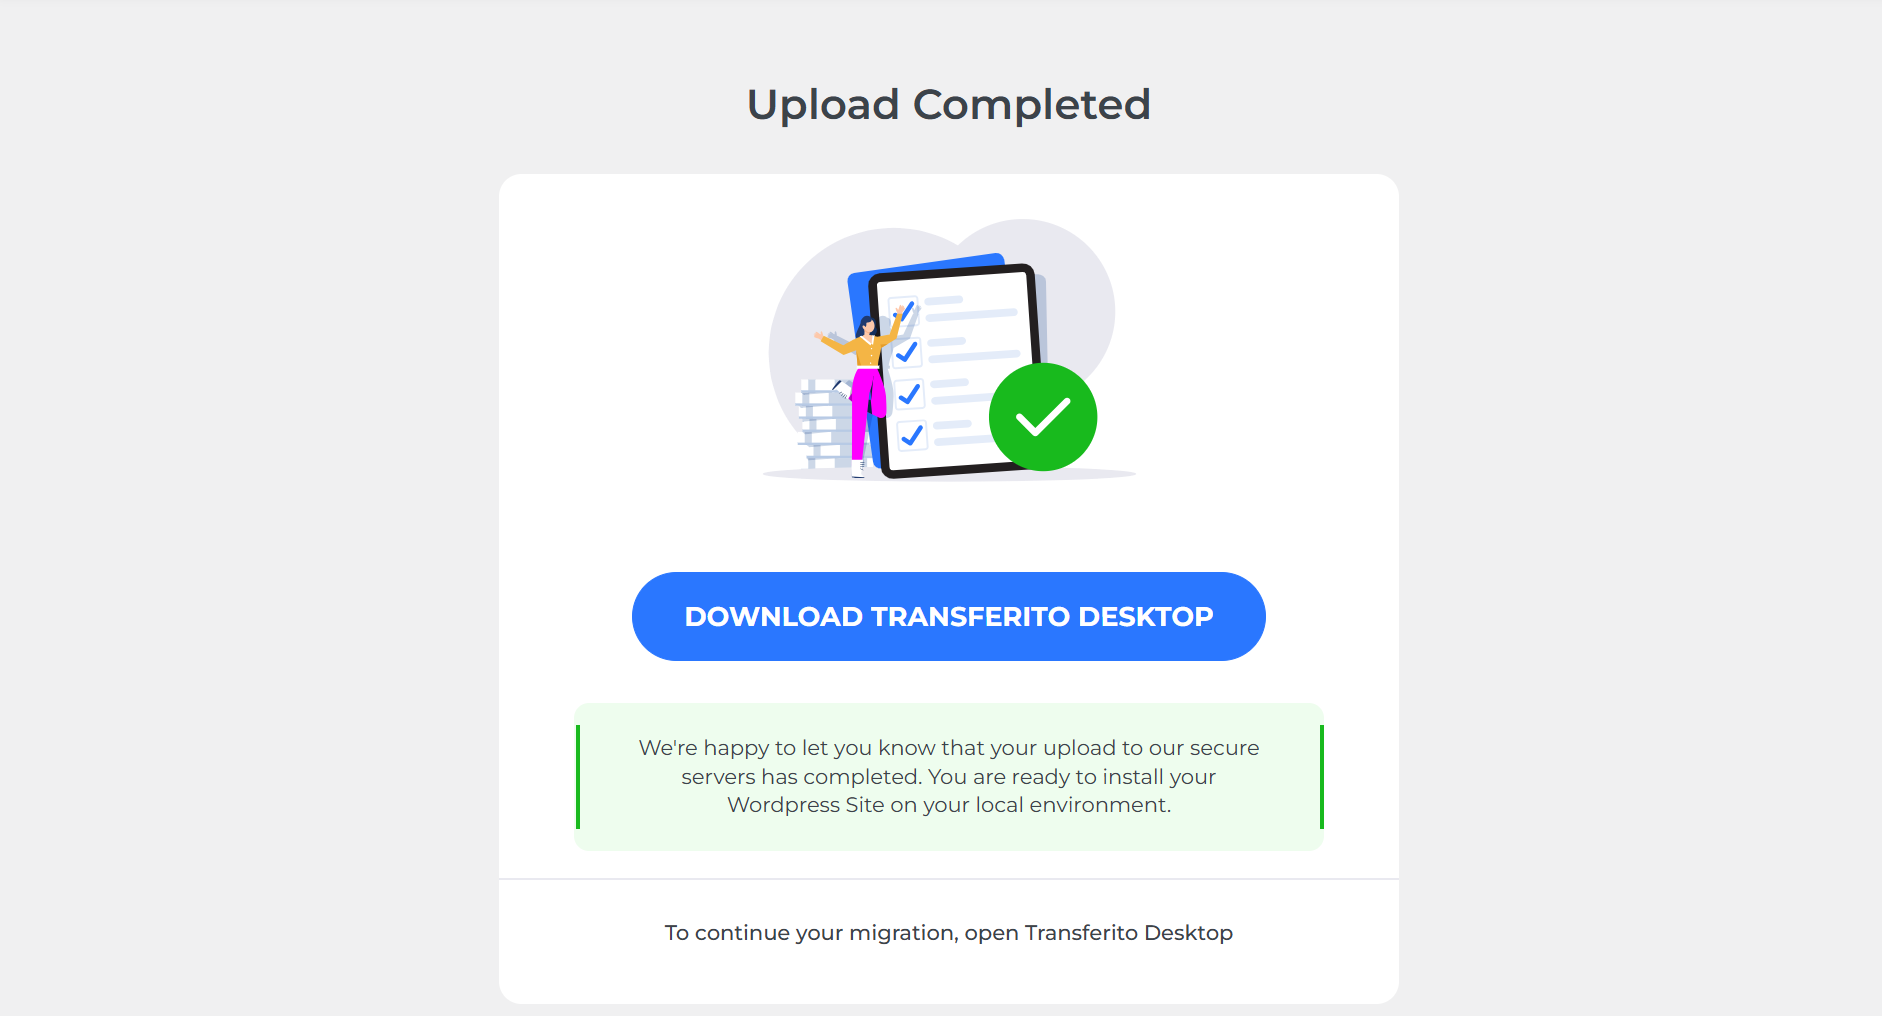
Using Transferito Desktop, to complete your Local Migration:
- Open Transferito Desktop
- Click on the migrations navigation tab. (This is where migrations created in the plugin will be displayed)
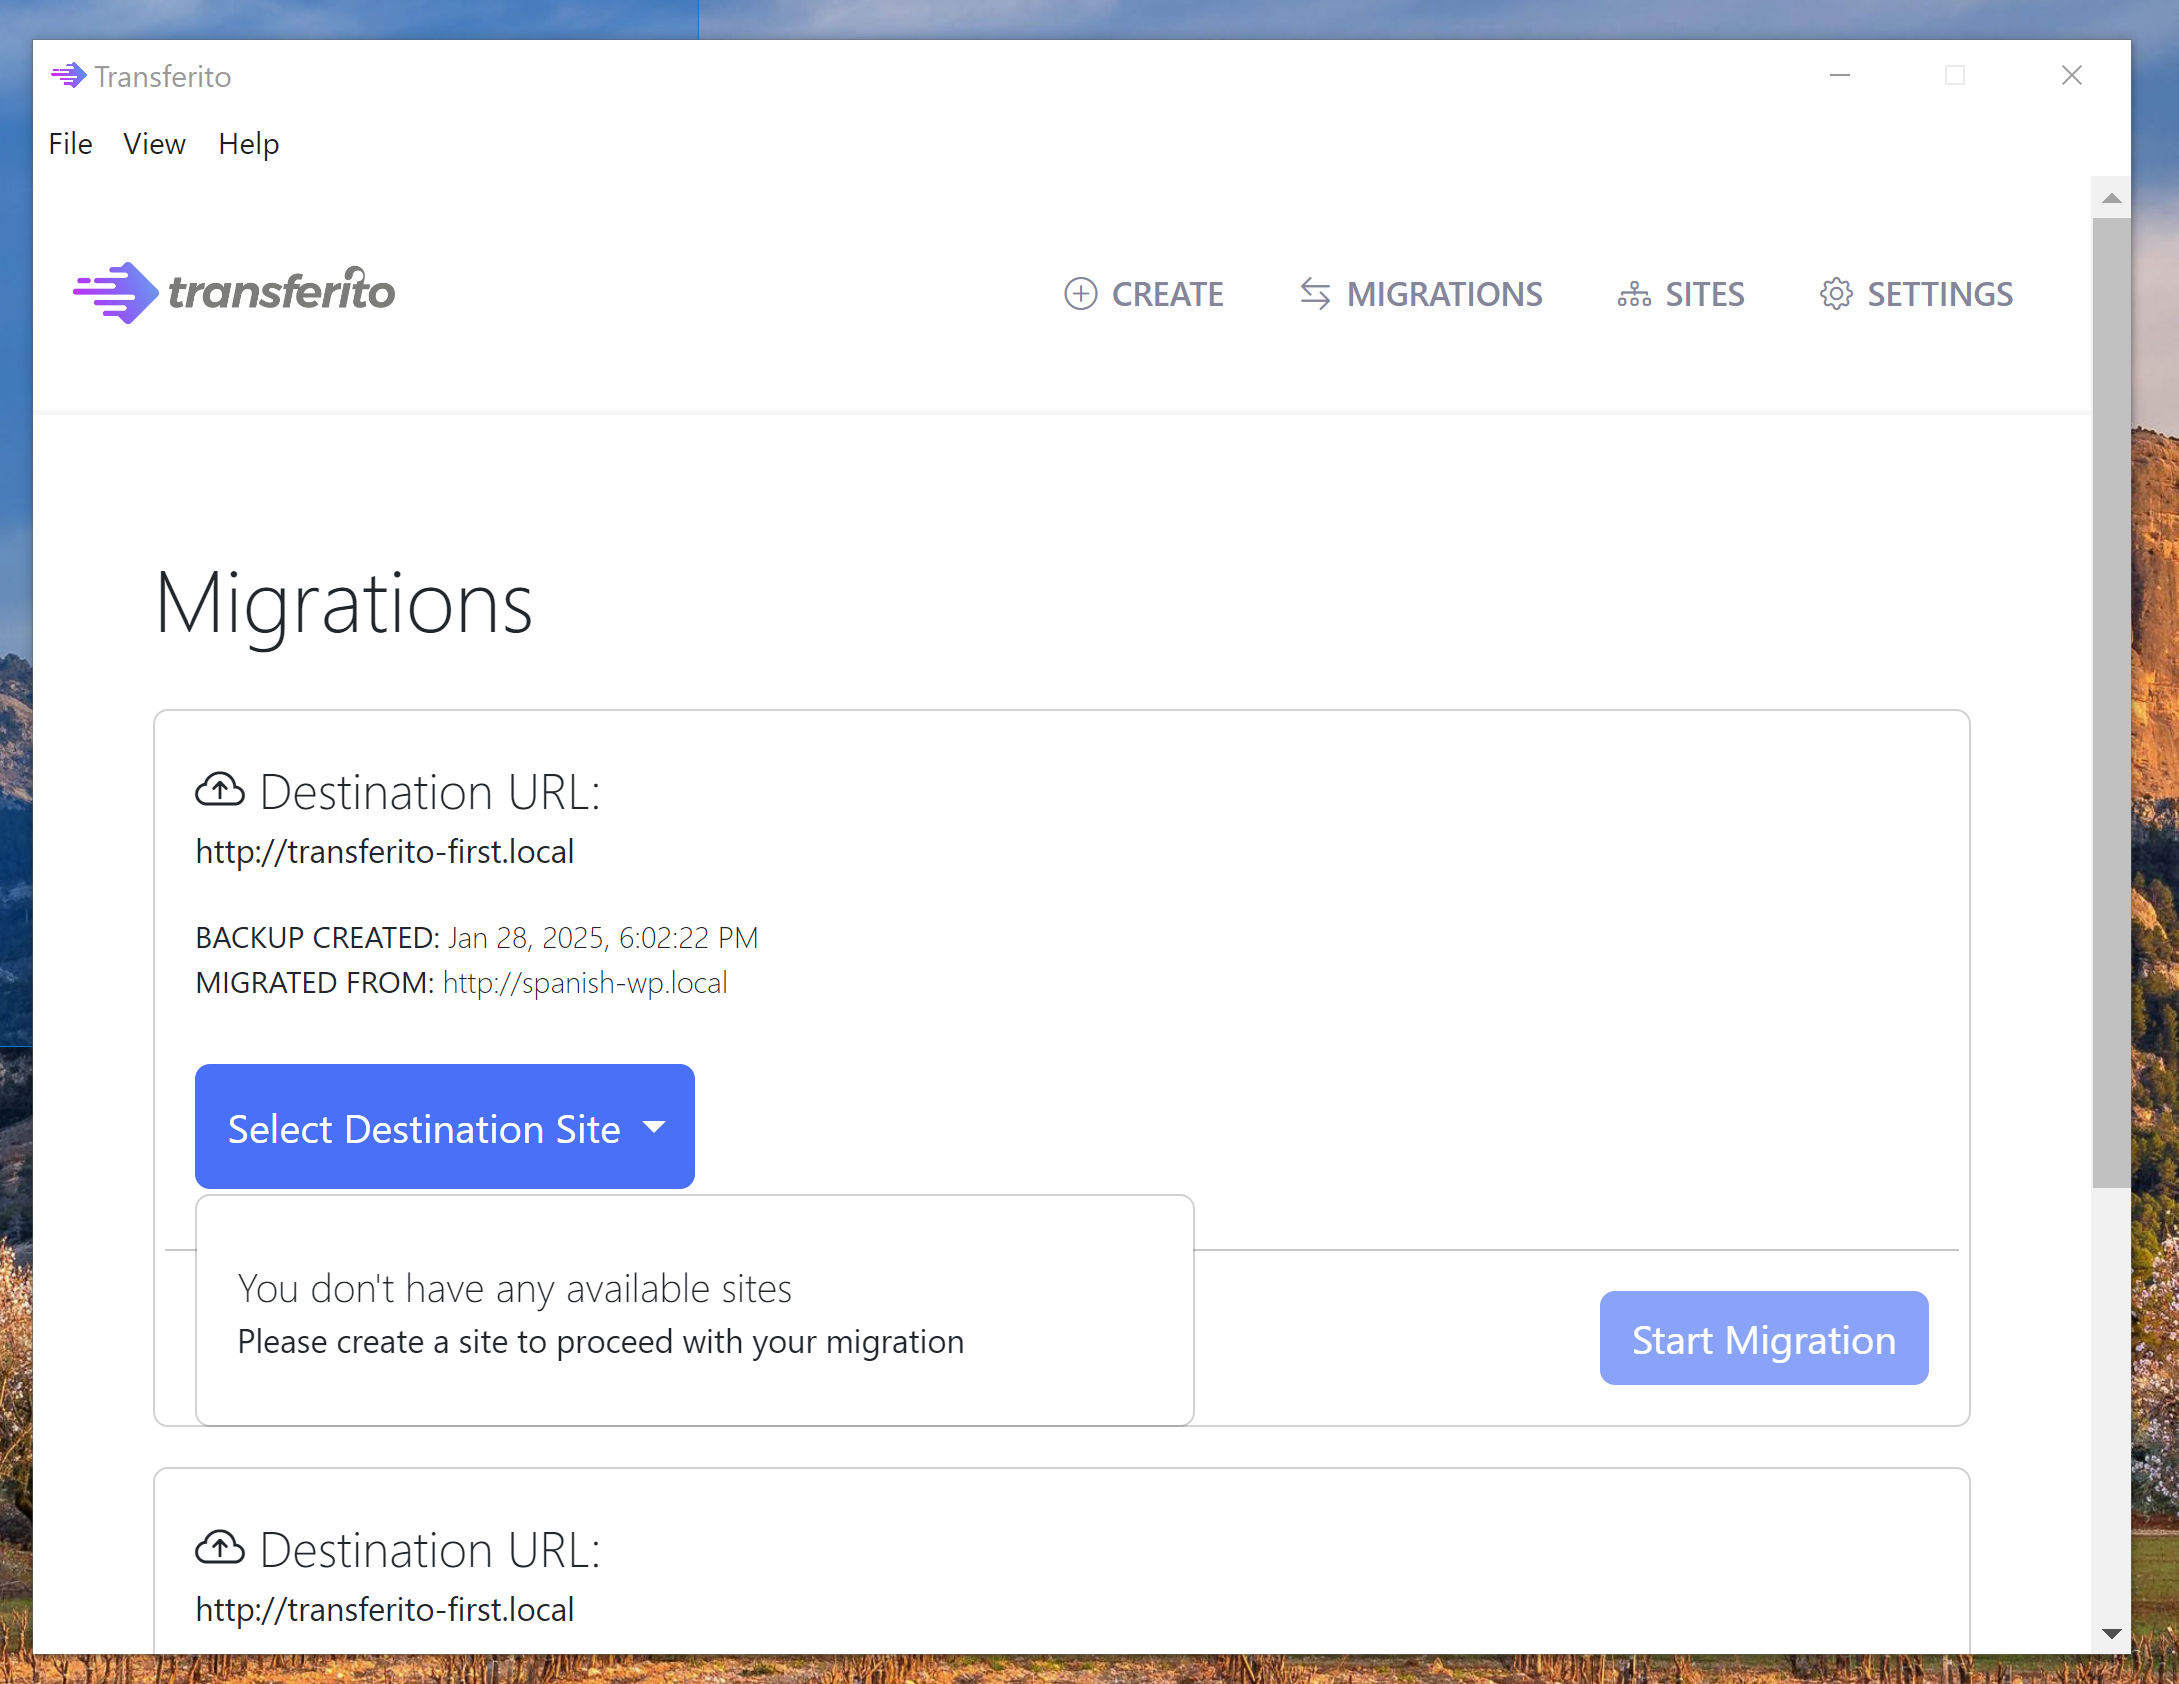
Viewing your backup:
Your backup will appear on the migration screen.
- This will show you the active site URL,
- The time of the backup created
- The destination site URL.
Selecting your destination site:
Select your destination site, if there are no destination sites in the site list. You will need to create a destination site.
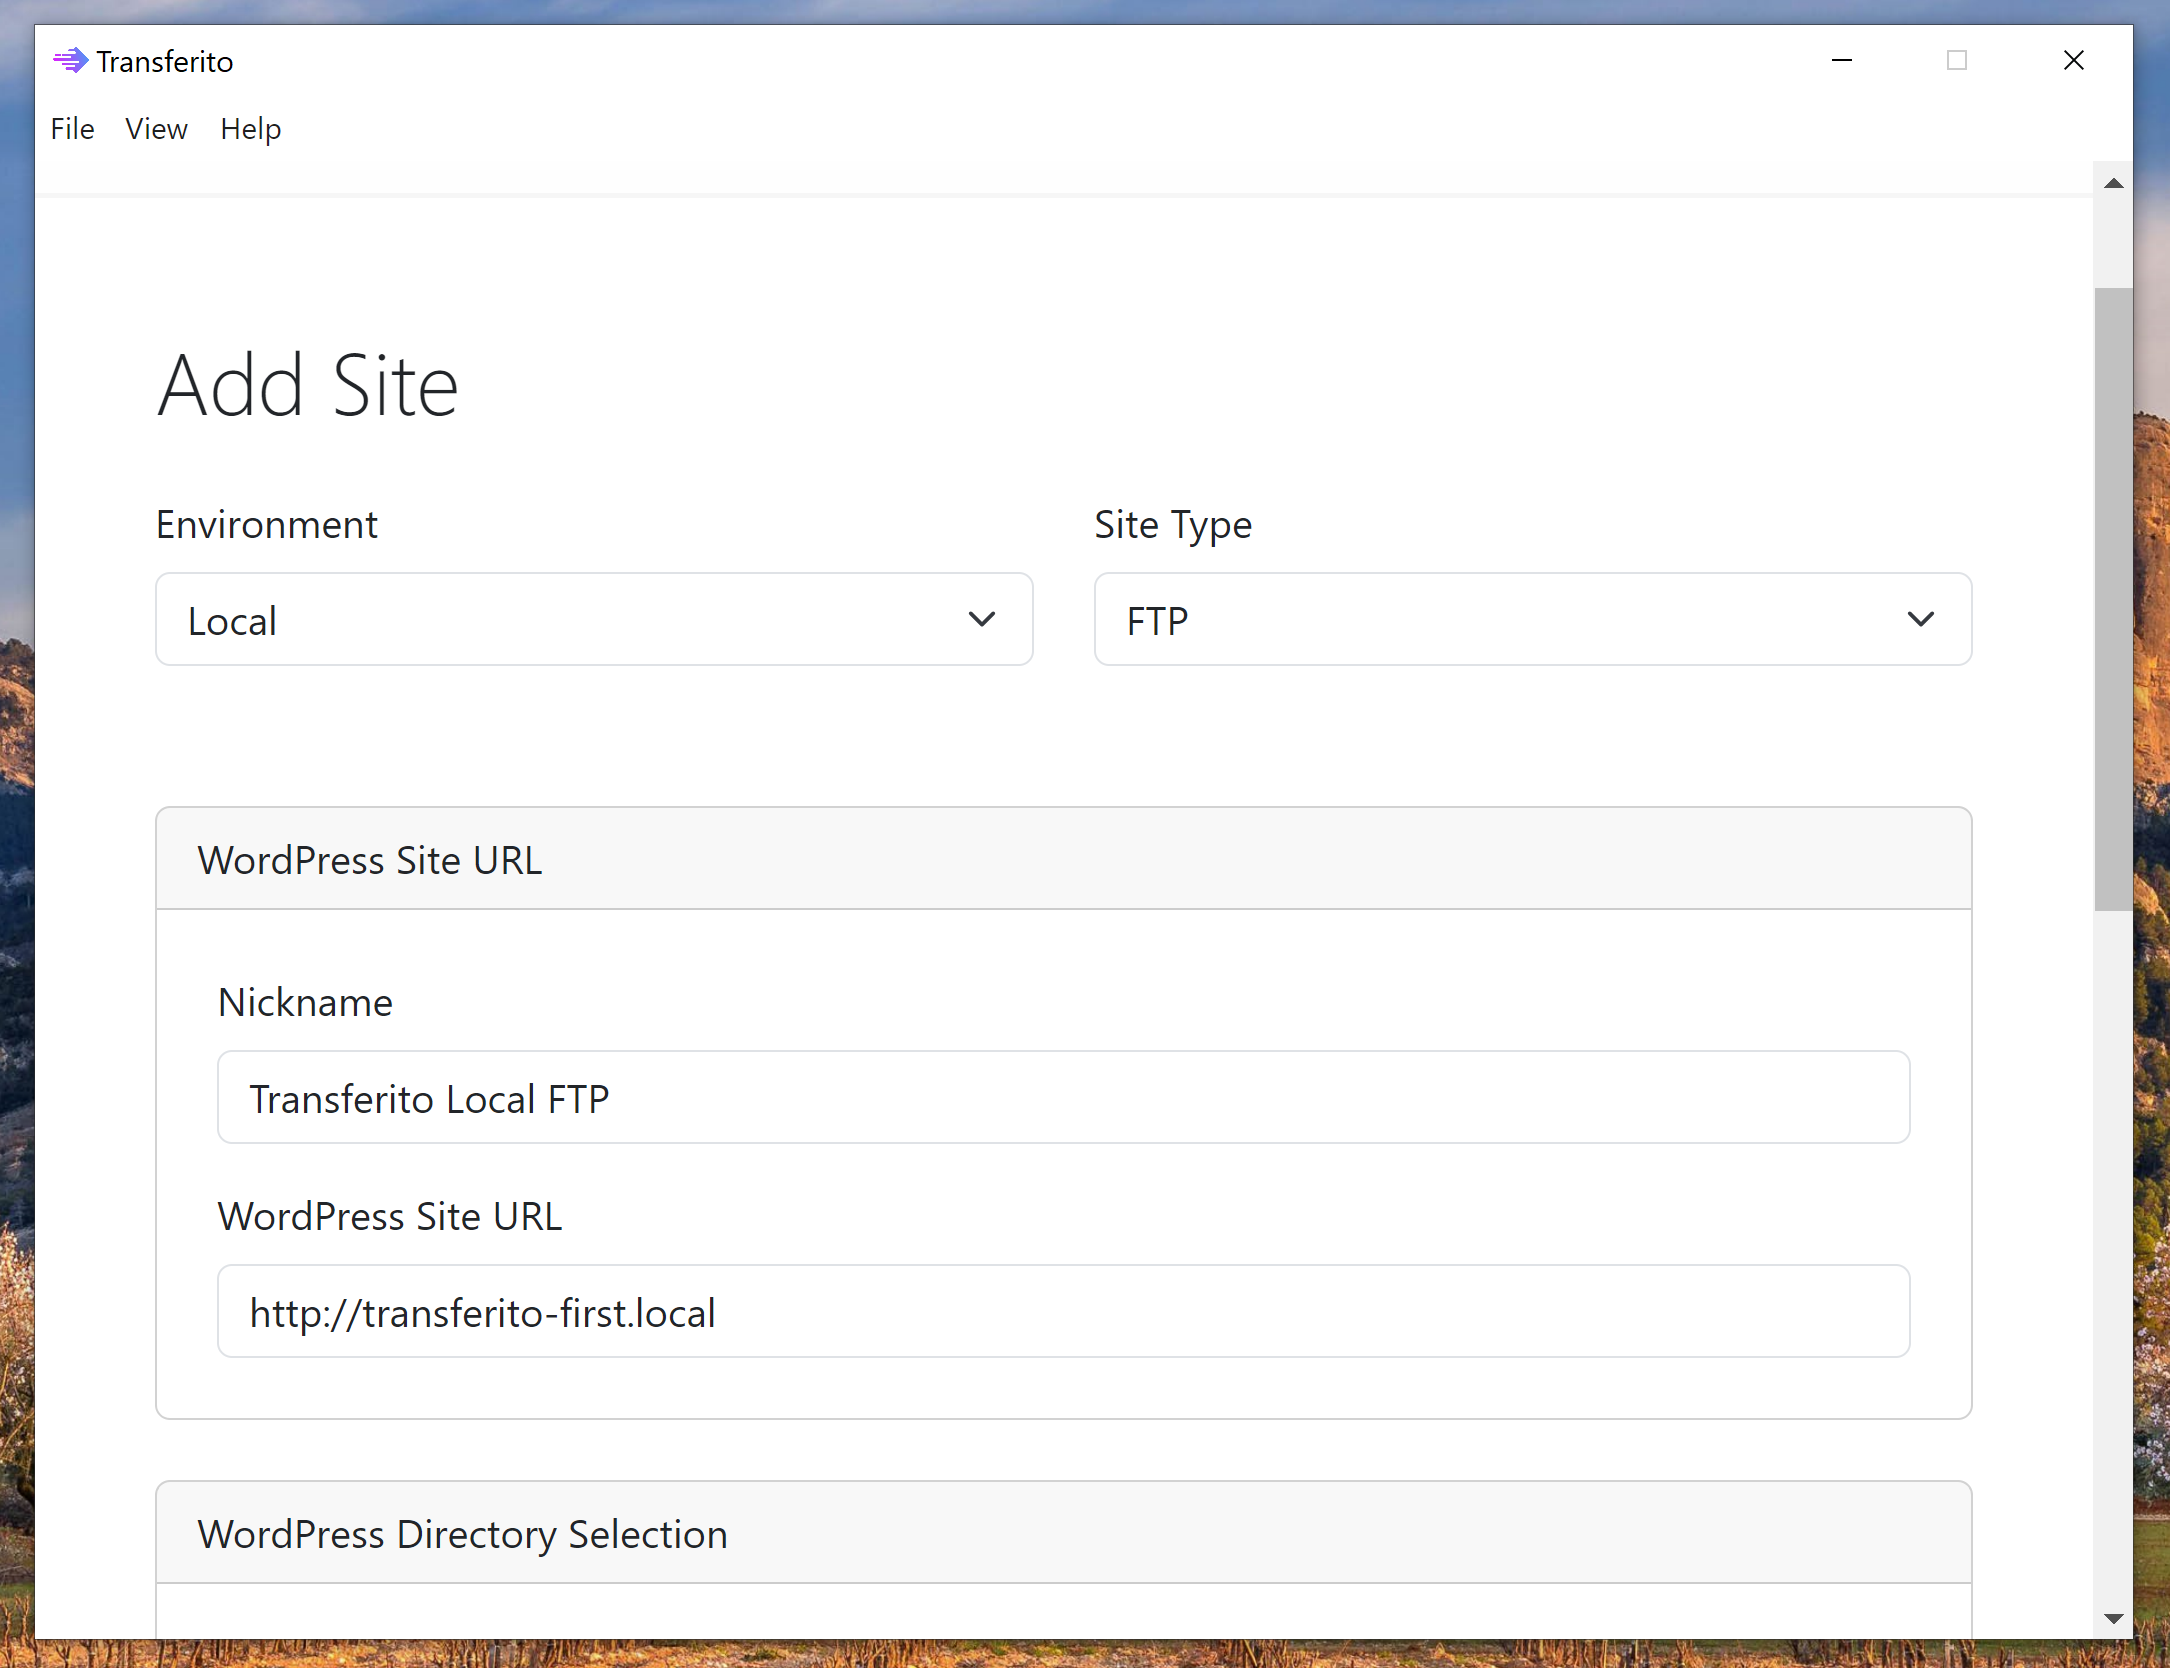
Adding a site:
Click on the sites menu item in navigation bar., then click on the “Add Site” button
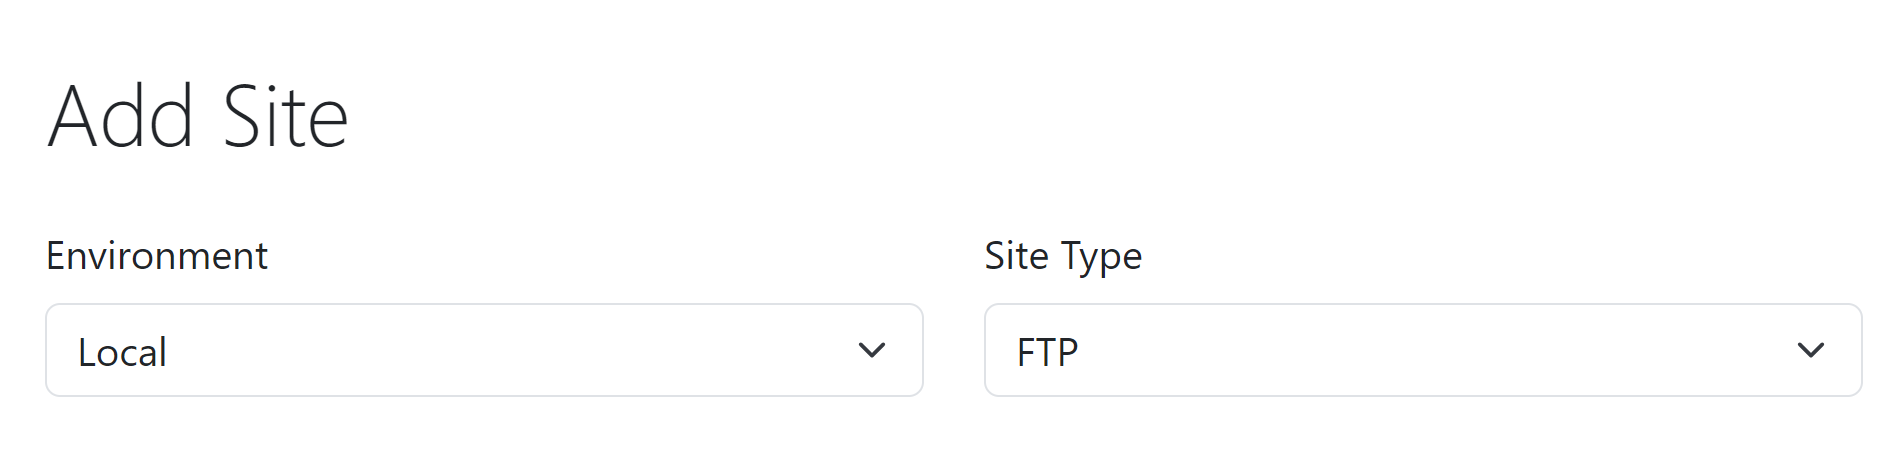
Select the following options for your environment and site type:
- Environment: Local
- Site Type: FTP
Enter your site details, this will include
- A name to identify this site
- The directory/folder of the Local site
- Site URL
- Database details
Using the newly created site:
Navigate back to the migrations menu item and select the destination site that we’ve just created.

Starting your migration:
Click the Start Migration button and very shortly you migration will be completed.

