Migrating your WordPress Website using the Transferito Plugin
Getting Started
To get started you will need the URL of the site that you want your site migrated to, in this example we are using one of our demo sites on Bluehost.

Once you have entered your Destination URL, the Transferito WordPress migration plugin will try to automatically connect to Destination server. If we are unable to do this, you will see the connect you your server screen.
Connect to your Destination Server:
Connecting to your server is really easy all you need to do is download the generated file and upload it to the root directory of your server. To start the process just click on the blue download file button
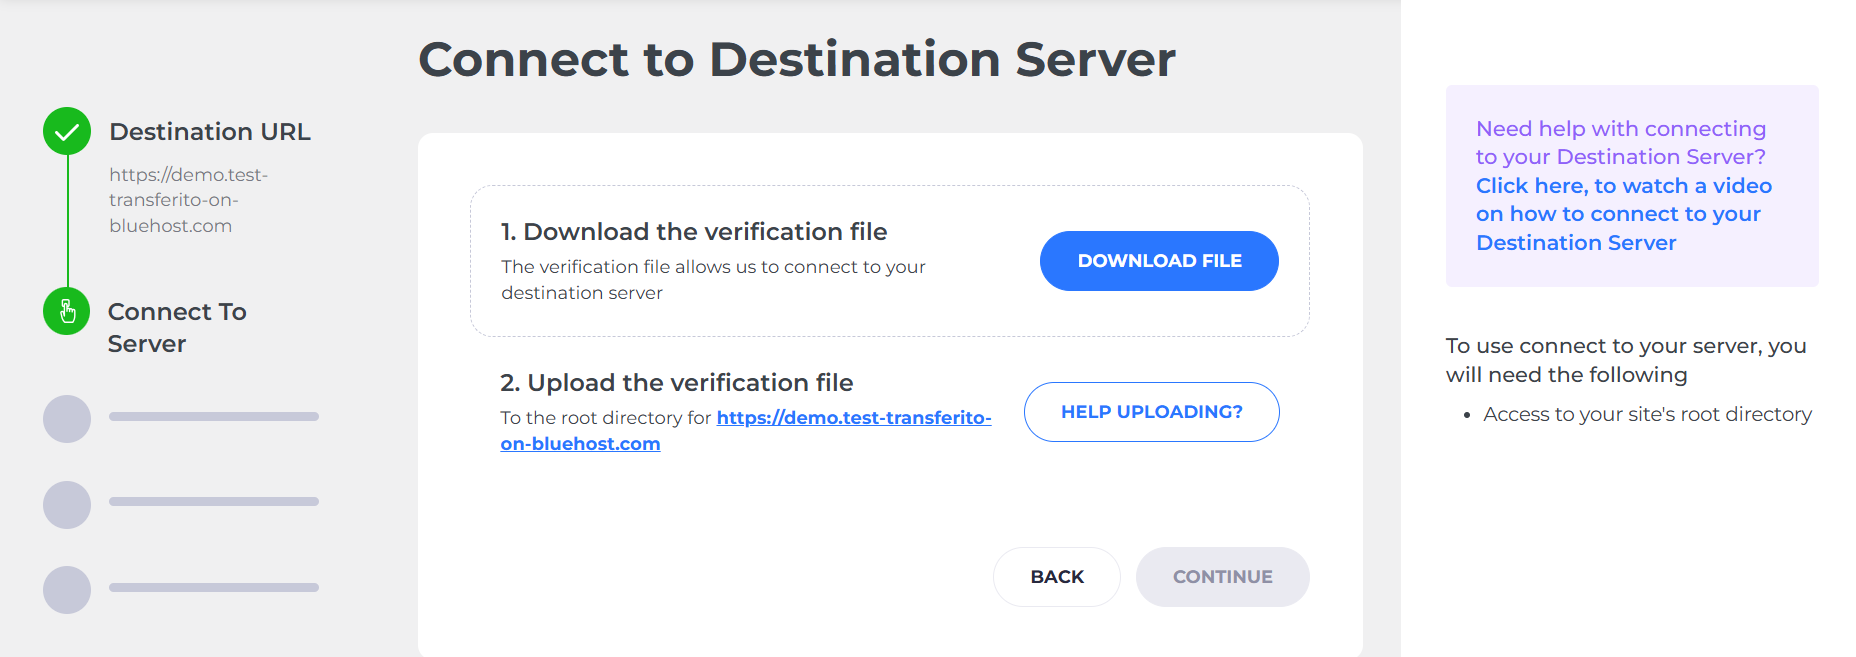
Once you’ve clicked on the button, the verification file will be downloads to your downloads folder and a loading spinner will appear that will be checking in real-time for when your file has been uploaded to your server.

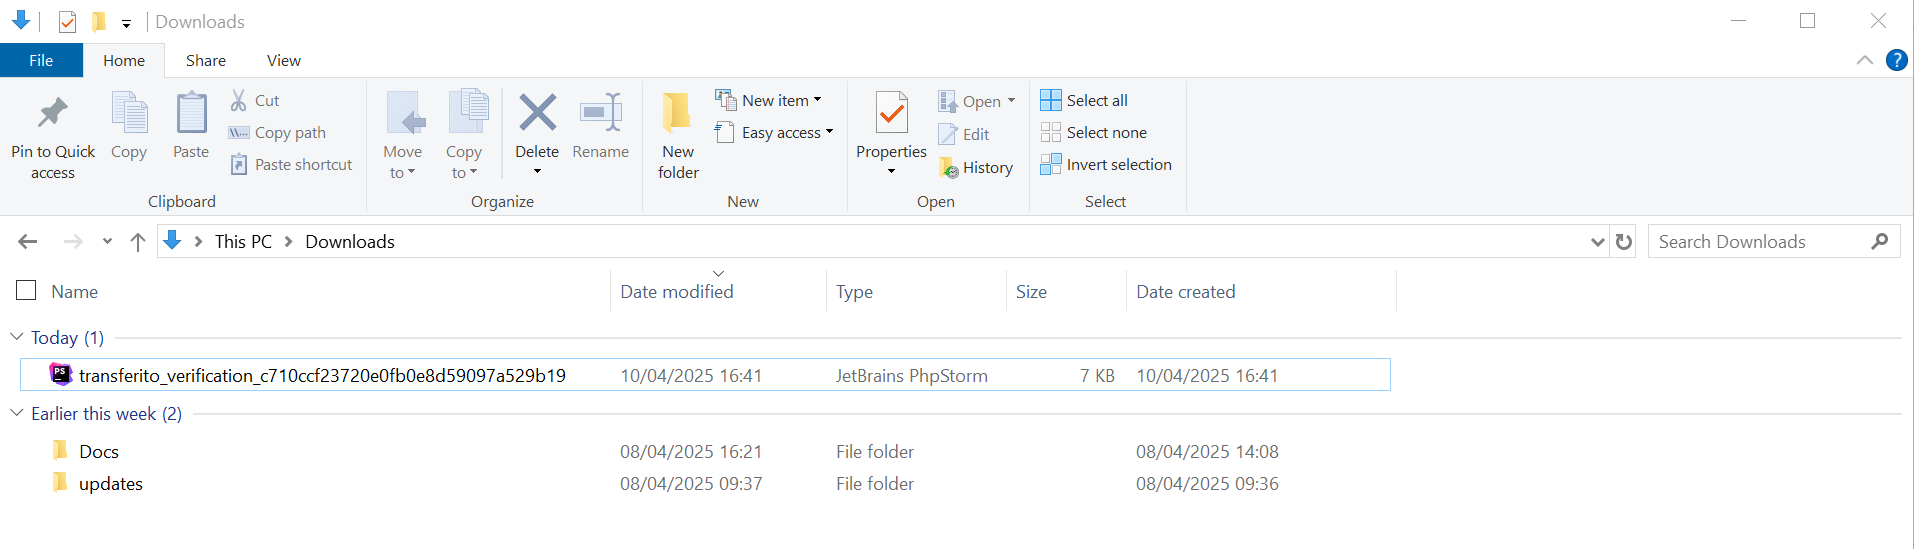
Locate the verification file
The verification file should look something like this, “transferito_verification_” with a uniquely generated hash as part of the filename.
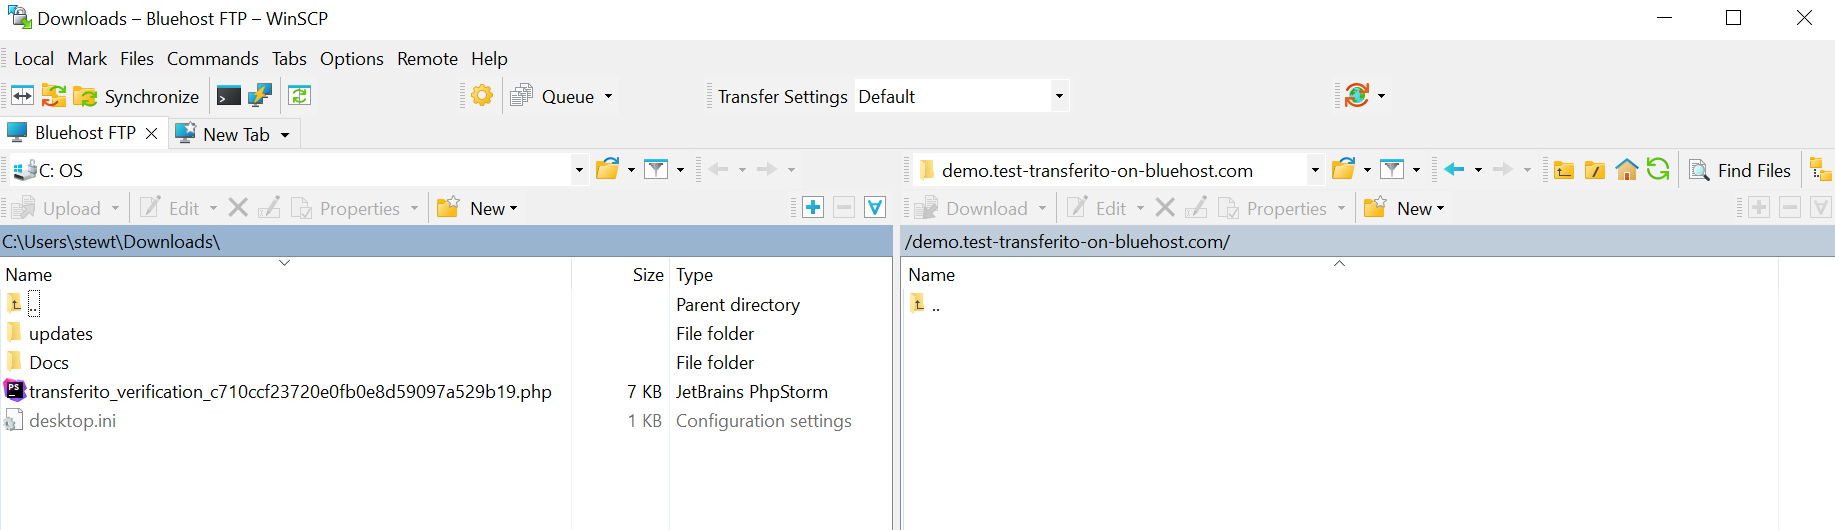
Upload your verification file
Once you’ve found your verification file, the next step is to upload it you your server. In this example, I’m using an FTP client, navigated to the root directory for https://demo.test-transferito-on-bluehost.com this is where we want our WordPress site to be migrated to.
Move the file
Copy / upload the file to your root directory as explained above.
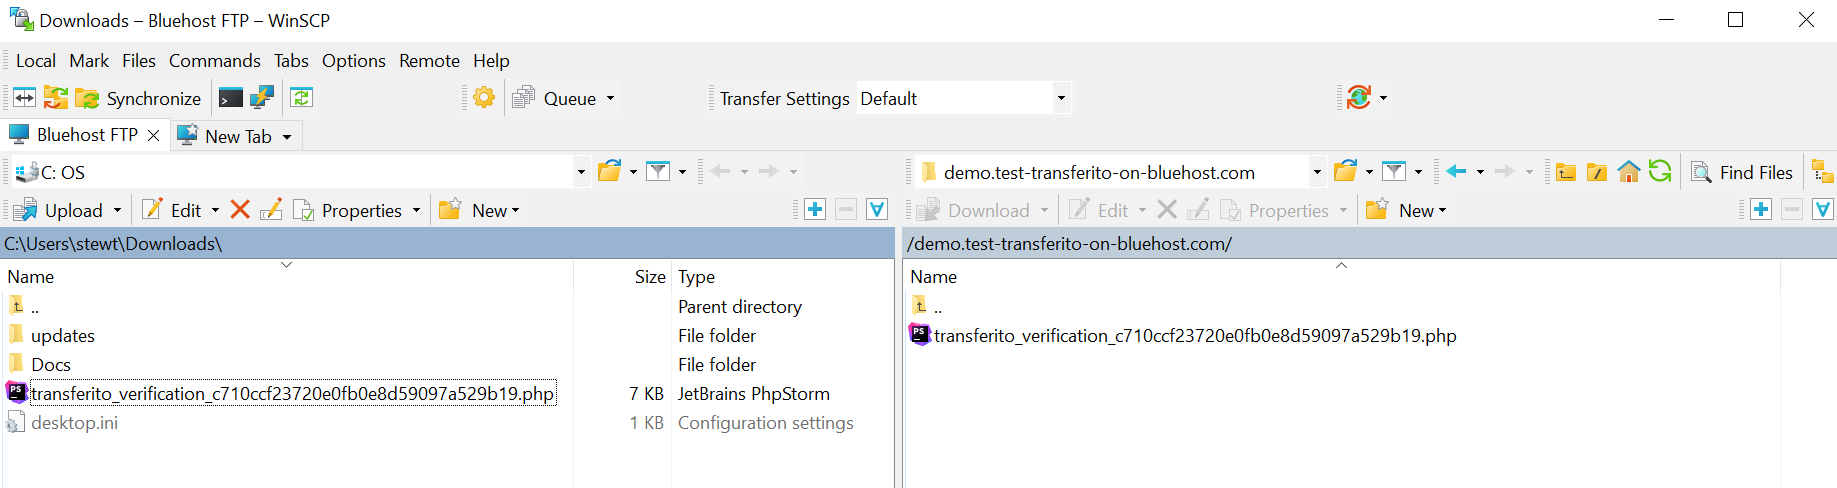
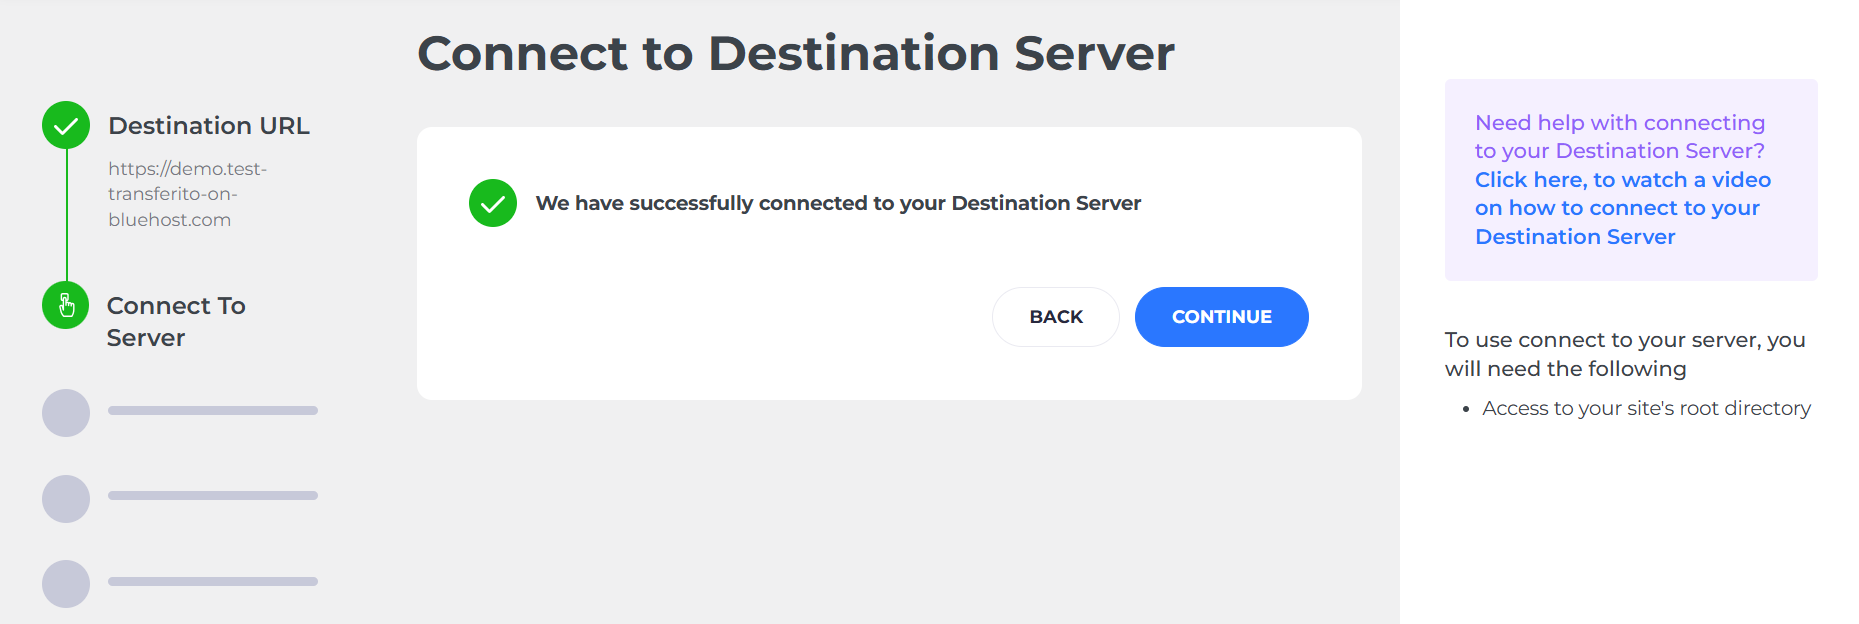
Successfully Connected
Once the file has been uploaded we instantly connect to your site and you can proceed with your migration. DO NOT delete this file while your migration is in progress, this will cause your migration to fail.
Database Details:
The the following are required details:
- Database Name
- Database User
- Database Password
Your database details may vary between hosting providers, so we will not tell you exactly how to get your database details, but you can find more in-depth details on how to get your database details in our hosting guides.
Database Migration Options:
The following option are not required but can be helpful during your migration:
- Use Existing Database
- Transfer only your website files
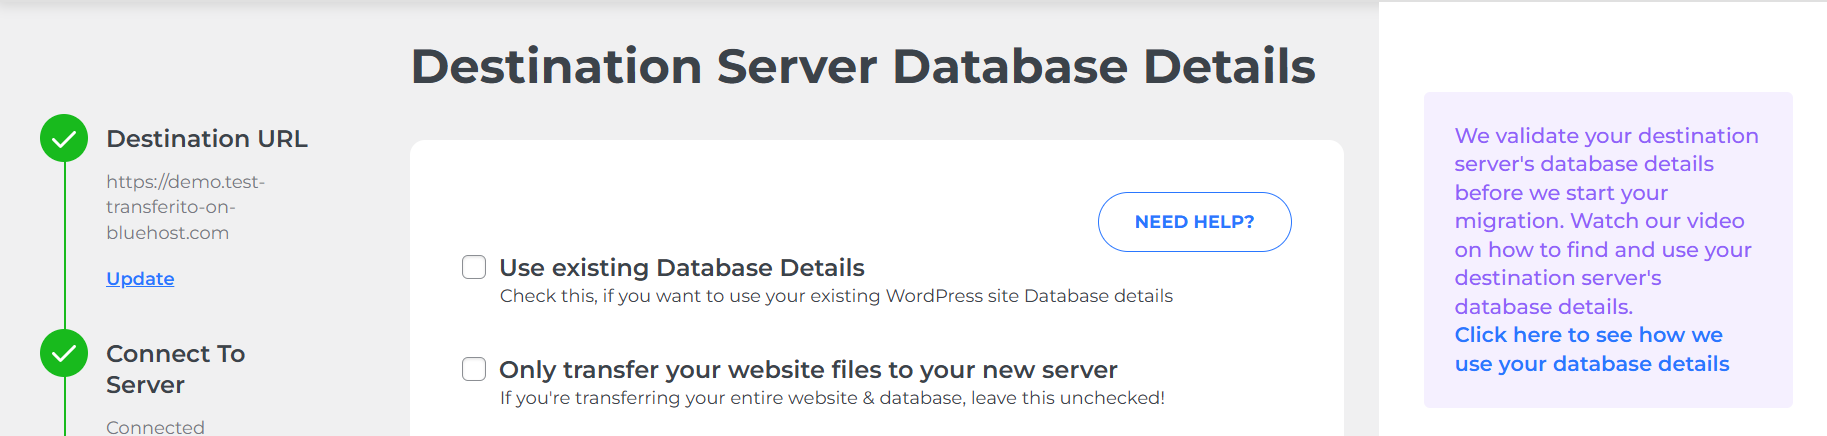
Use Existing Database:
If you have a working installation of WordPress on your Destination Server, by selecting this option we can pull in those database details and use them for your migration.
Transfer only website files:
Gives you the option to exclude the database from your WordPress migration and only transfer your WordPress files.
Database Host:
The database host is not a required field as we default the database host to localhost. If your database host is not localhost